Packaging is the one piece of marketing a customer holds in their hands. It has to stand out next to competitors, explain what the product is in a glance, carry the text your category requires, and survive printing, folding and shipping. That's a lot to ask of a few square inches of cardboard.
The good news is that packaging design follows a dependable process. Small brands that get the order right avoid the most expensive mistakes: reprints, redesigns and boxes that don't fit the product.
Start With the Brief, Not the Mockup
Before anyone opens a design file, write down the answers to a few questions:
- What is the product, and what does it need to protect or hold?
- Where will it be seen first: a store shelf, a marketplace listing, or a social feed?
- Who buys it, and what do competing products look like?
- How many products or variants are in the range, now and later?
- What's the budget per unit and the order quantity?
The last question shapes everything. A custom rigid box looks premium, but it can cost many times more per unit than a printed mailer or a label on a stock jar. Knowing your unit budget early stops you falling for a concept you can't afford to produce.
Choose the Structure and Get the Dieline
The structure is the physical form: a folding carton, a mailer box, a pouch, a label on a bottle, a sleeve. Pick it with your printer or packaging supplier, then ask them for the dieline: the flat template showing every panel, cut, fold and glue area for the exact box they'll make.
Never design on a guessed template
Artwork built on a downloaded or estimated dieline often doesn't line up with the printer's real cutting die. Text ends up on a fold, a logo gets cut off, or a barcode lands on the glue flap. Get the printer's own dieline first and design on that.
Design for the Shelf and the Unboxing
Packaging works in two very different moments.
The shelf or product grid. Shoppers decide in seconds. The front, called the principal display panel, needs a clear brand mark, an unmistakable product name, and one reason to choose it. On a marketplace, your packaging also becomes a small thumbnail, so test how it reads at that size.
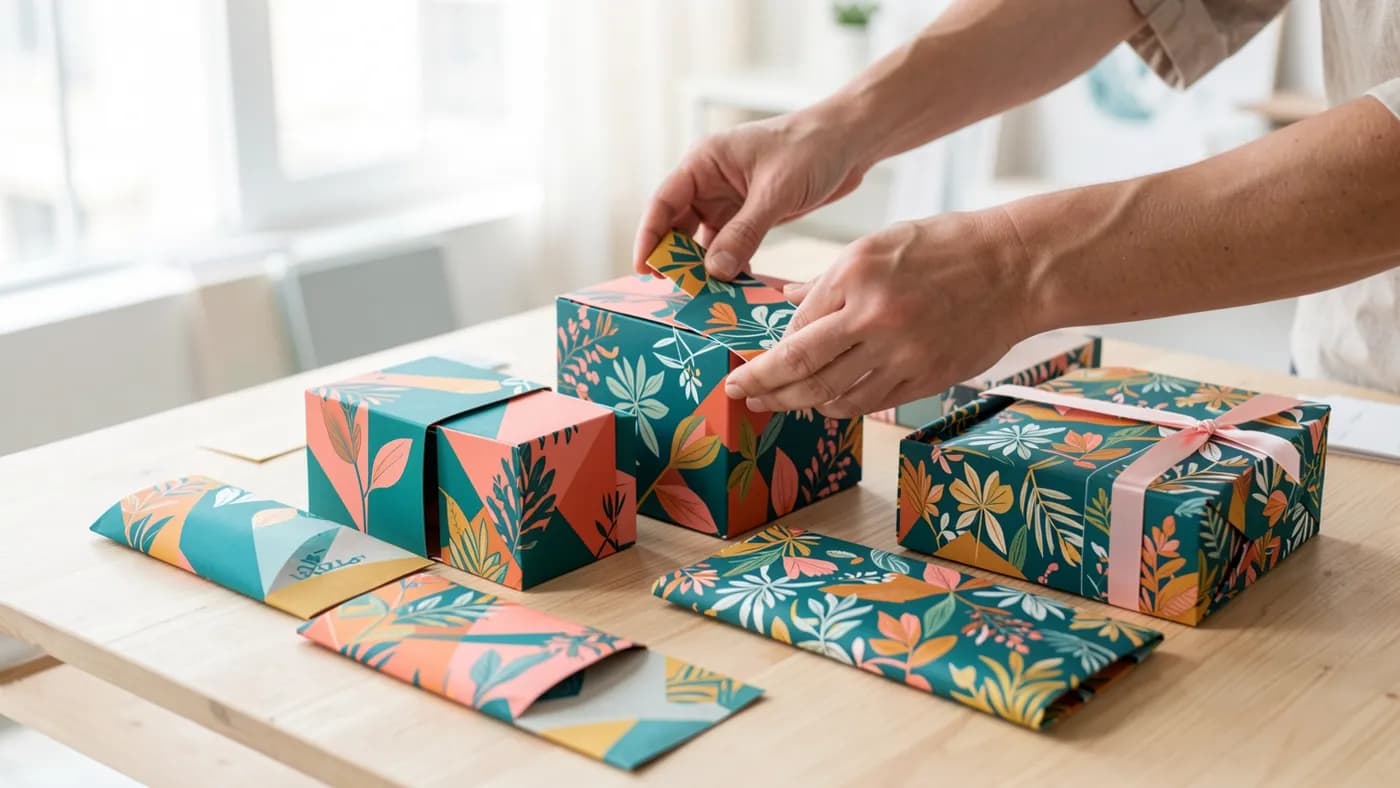
The unboxing. At home, people look closer. The inside of a mailer, a printed tissue, a thank-you card or a simple usage guide can turn a delivery into a moment worth sharing. You don't need every extra, but the first impression after the lid opens is part of the design.
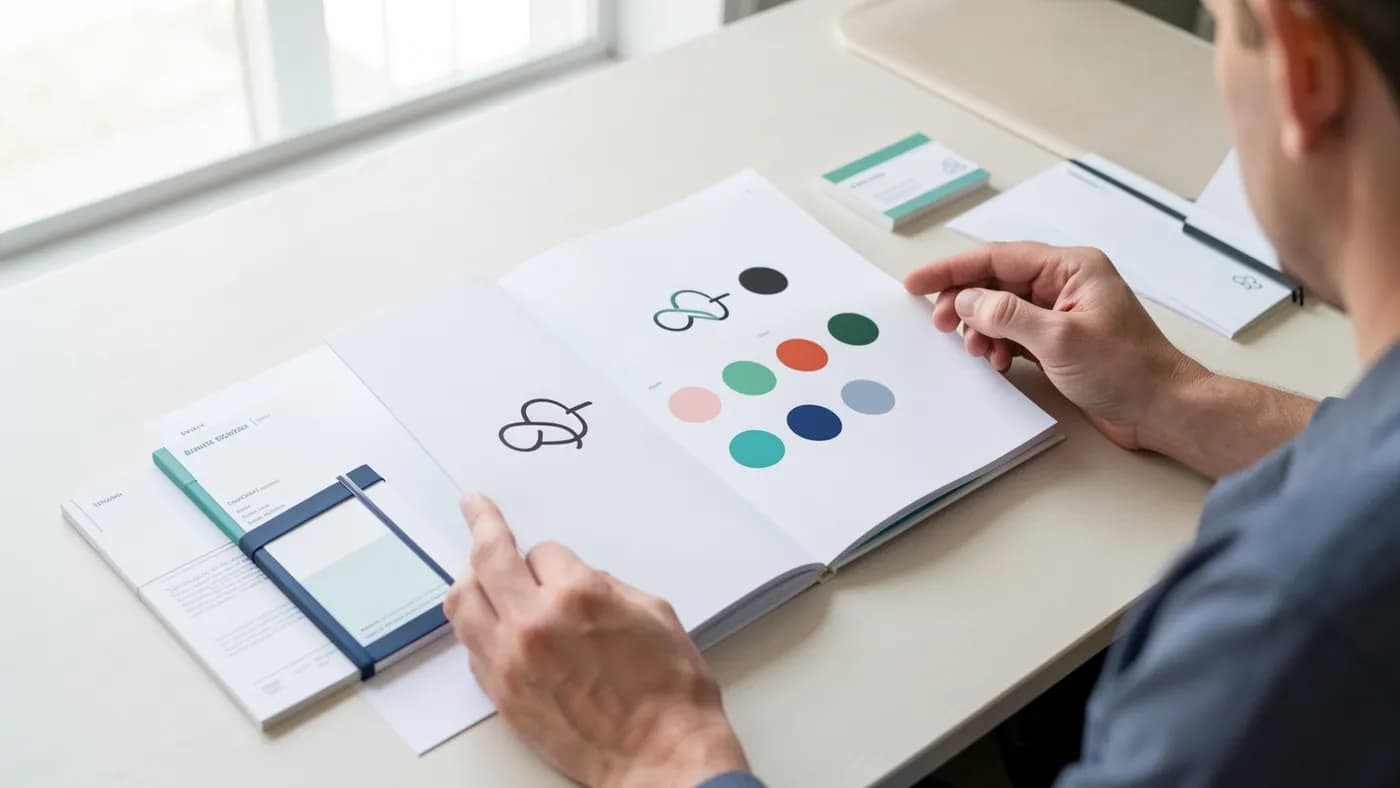
Across a range, keep a consistent system: same layout, same type, same logo position, with color or a single graphic element changing per variant. It makes the line look intentional and makes new products faster to design. A clear set of brand guidelines keeps that system consistent as the range grows.
Get the Required Text Right Early
Every product category has rules about what the package must say, and they affect the layout. Leave room for them from the first concept, not the last revision. For packaged food sold in the US, for example:
9
major food allergens the FDA lists: milk, eggs, fish, crustacean shellfish, tree nuts, peanuts, wheat, soybeans and sesame
Source: US FDA, Food Allergies guidance, checked October 2026
Bold, on the front
the statement of identity (the product's common name) goes on the principal display panel in bold type, sized in relation to the most prominent print
Source: 21 CFR 101.3, Electronic Code of Federal Regulations, checked October 2026
Cosmetics, supplements and other products have their own requirements, and other countries have different ones again. Get the exact text from your compliance contact or the regulations for your category, and lock it before final artwork. Rewording an ingredient list after design is approved is one of the most common causes of delays.
Don't forget the practical items too: a barcode if retailers or marketplaces need one, recycling marks, your website, and batch or date space if the printer adds those later.
Planning packaging for a new product?
Tell us about the product, the printer and your unit budget. We'll map out the structure, the design system and a realistic timeline.
The Packaging Design Process, Step by Step
- 1
Brief and research
Agree the product, audience, competitors, channels, unit budget and quantities.
- 2
Structure and dieline
Choose the package form with your printer and get their exact dieline.
- 3
Concepts
Explore two or three design directions on the real dieline, shown as 3D mockups.
- 4
Refine and add copy
Develop the chosen direction and place all required text, barcodes and marks.
- 5
Print-ready files
Set bleed, colors, outlined fonts and separate layers for any special finish.
- 6
Physical proof
Check a printed sample for color, folds and fit with the real product before the full run.
Working With Your Printer
Your printer is a partner, not the last step. Bring them in early and ask:
Questions to ask your printer
- Can you send the dieline for the exact structure and size?
- Do you print CMYK, spot colors, or both, and on which materials?
- How much bleed and safe area do you need?
- How should foil, embossing or spot gloss be supplied in the file?
- What's the minimum order, and how long do a proof and the full run take?
- Can I see a physical proof before you print the full order?
Colors on screen never match ink on cardboard exactly, especially on uncoated or kraft stock, which darkens and dulls colors. That's why the physical proof matters. It's also where you find out the product rattles in the box, or a fold cracks the ink.
The Bottom Line
Good packaging design is a process, not a single creative moment: brief, structure and dieline, concepts, required text, print-ready files and a physical proof. Get the printer and the legal text sorted early and the creative work has room to shine. If you'd like help designing packaging that fits your brand and survives the print run, see our graphic design services. Selling online? Our ecommerce marketing page covers what happens after the package ships.